
So if I haven't mentioned it on here I have ridiculously dry hair. People always talk about how shea butter is a great sealant and putting it on the ends of their hair to keep things nice and sealed in...I guess. So until I start work (If I still have a summer job) I decided to try a little Do It Yourself (DIY) type thing and Googled "whipped shea butter." Why? Well shea butter in its raw state is just hard to get out and I wanted something easier. So after looking at videos I got up this morning and headed to the hair store. I bought a 16oz container of unrefined African Shea Butter for $7.99.
 |
| I started off by boiling a small pot of water to melt the shea butter. |
 |
| This is the amount of shea butter I used. I only used a small amount because I didn't want this to be a disaster and I end up wasting a ton of good product. |
 |
| After the water came to a boil I removed it from the heat and placed the shea butter over it. I made the mistake of putting it back on the heat because it didn't melt fast enough for me, but trust me when I say don't melt it all the way! |
 |
| After placing it over the heat this is what it looked like melted. |
 |
| I added a tablespoon of unrefined organic coconut oil. You can use whatever you like they say. If I had Jamaican Black Castor Oil I would have added that, but I'm a poor college student. |
 |
| Whipping it up in the kitchen and FAILING at it! |
 |
| I put it in the freezer to get it in some type of solid form and water got into it. BAD MOVE! |
 |
| When I first started it was whipped up nicely, butttttt... |
 |
| It somehow got like this. I thought maybe it was acceptable and stopped. |
 |
| I cleaned out a Shea Moisture container to place the "whipped" product in. |
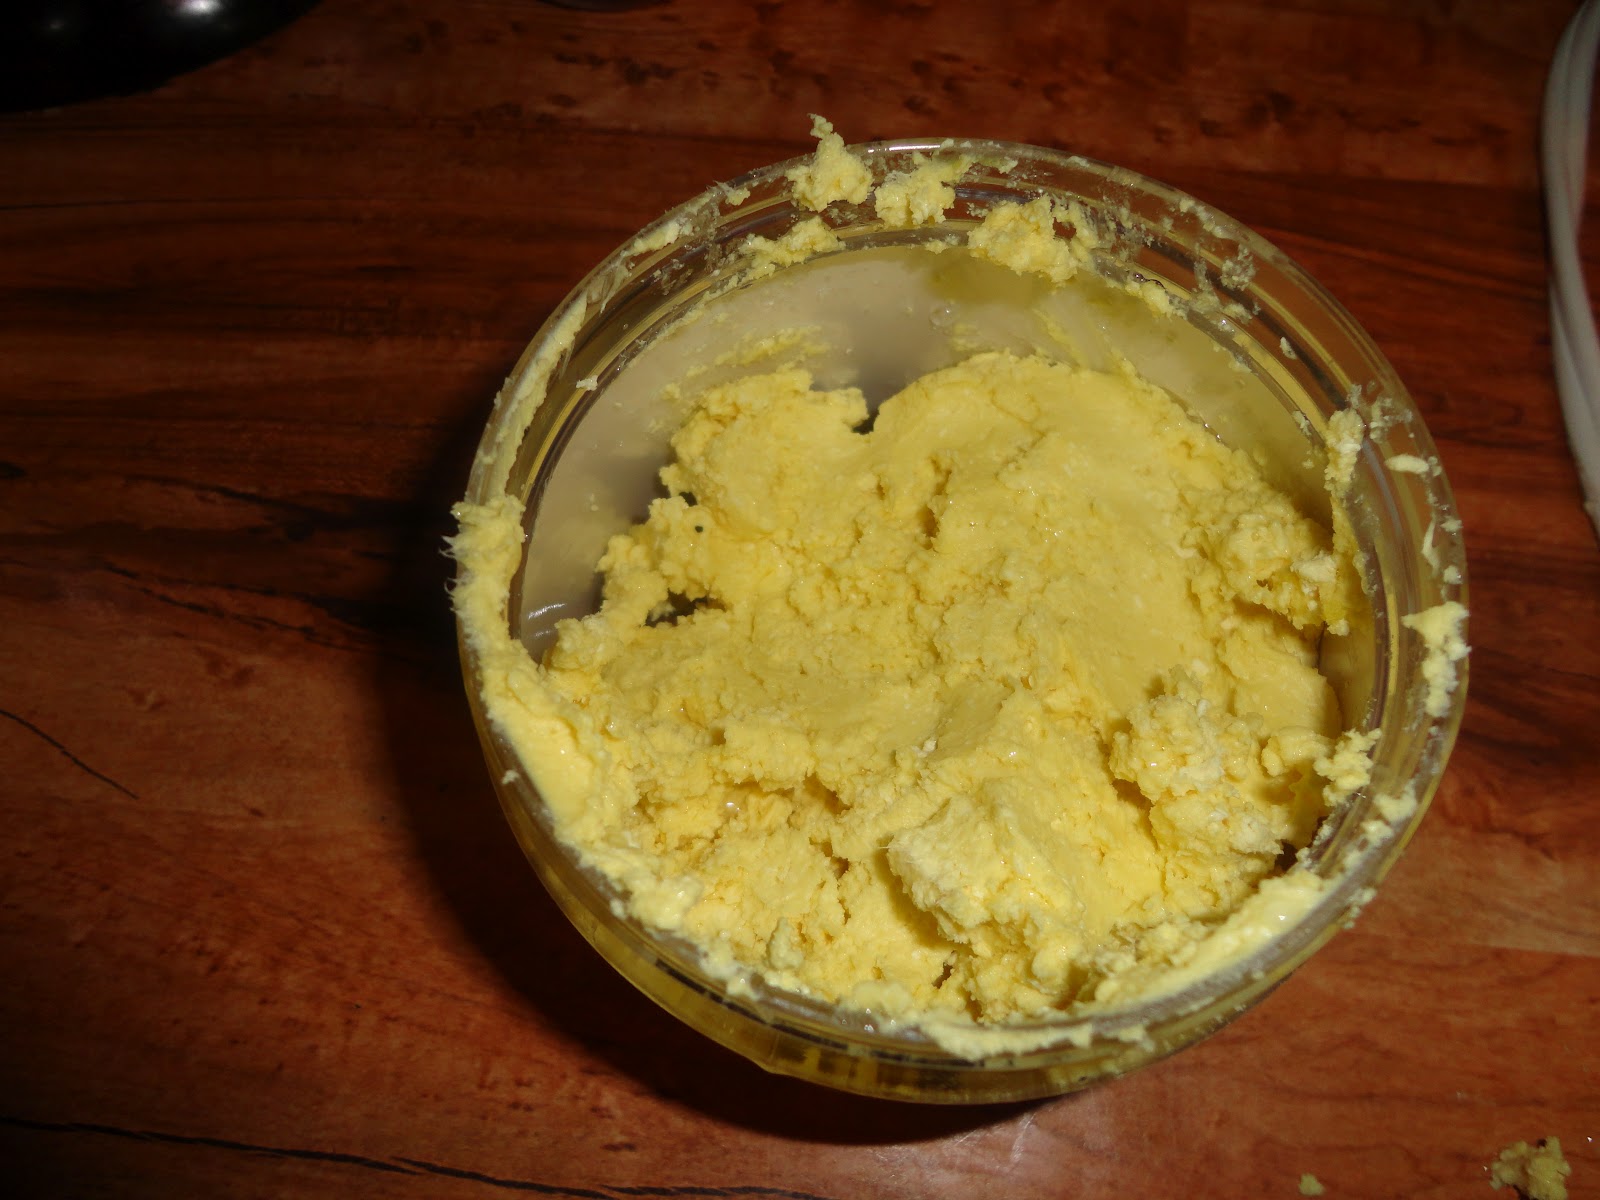 |
| My failed attempt! |
I'm not a quitter though so after twisting my hair I removed the shea butter that I started with and did everything over again. This time I didn't put it back on the heat and I didn't place it in the freezer. Instead I got a bowl of ice and put the METAL container in it. After letting it sit for awhile I started mixing it in that container.
|
| This was my final result. It looks like cake mix doesn't it? |
 |
| Here's to hoping it remains this way. |
No comments:
Post a Comment
Post Your Ramblings